When working on your travel trailer, understanding the wiring diagram for a travel trailer is crucial. It helps you locate electrical components and ensures safe connections. This guide teaches you about the key parts and how to interpret the wiring layout.
What is a Wiring Diagram for a Travel Trailer?
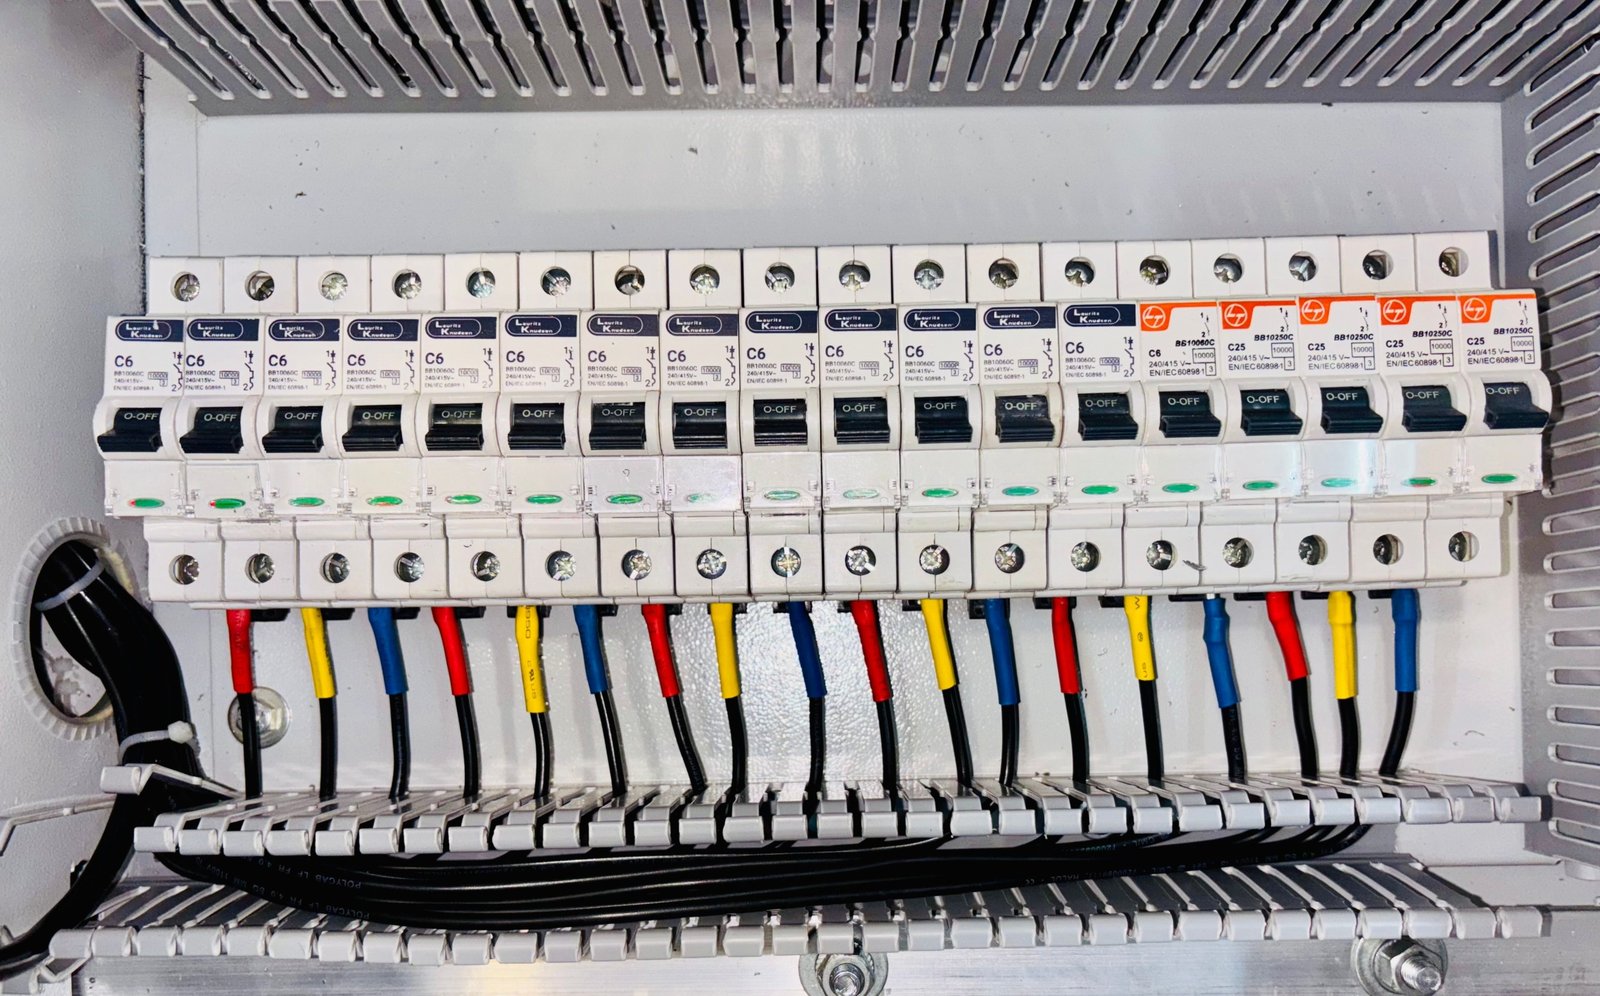
A wiring diagram is a simple visual representation of the electrical system inside a travel trailer. It shows how wires connect to different components like lights, batteries, and appliances. Such diagrams reveal the flow of electricity and help troubleshoot problems.
Unlike complex electrical schematics, these diagrams focus on practical installation and repair, making them user-friendly for travel trailer owners.
Key Components in a Travel Trailer Wiring Diagram
Every travel trailer wiring diagram includes several important parts. Understanding these components allows you to follow the wiring easily.
- Batteries: The energy source that powers your trailer’s electrical system.
- Converter/Charger: Converts AC power from outlets to DC for trailer use and charges the battery.
- Fuses and Circuit Breakers: Protect the system from electrical overloads and short circuits.
- Lights: Interior and exterior lighting setups, including brake lights and turn signals.
- Switches: Control the power flow to devices like fans, lights, and water pumps.
- Outlets and Appliances: 12V and AC outlets and devices such as refrigerators or microwaves.
- Grounding Lines: Essential for safety, these wires connect parts to the chassis ground.
How to Read and Use the Wiring Diagram
Reading a wiring diagram can be straightforward if you know what to look for. Start by identifying the power source — usually the battery or shore power connection. Follow the lines, which represent wires, to see where electricity flows.
Colors often indicate wire functions, such as red for positive and black for ground. However, always verify with the diagram’s legend or notes.
When tracing circuits, note the location of fuses and switches. These control and protect your electrical system. If something isn’t working, these spots are good places to check.
For installation or repairs, always disconnect the battery to avoid shorts or shocks. Use the diagram to connect wires to correct terminals. Double-check connections against the diagram before powering on.
Tips for Using Your Wiring Diagram Safely and Effectively
- Keep the diagram handy when working on electrical components.
- Label wires and connectors during modifications to avoid confusion.
- Use the right gauge wire to prevent overheating.
- Test circuits with a multimeter to confirm voltage and continuity.
- Consult a professional electrician if unsure about any step.
In conclusion, having a clear wiring diagram for a travel trailer makes electrical maintenance safer and easier. It helps you understand how power flows and guides you when troubleshooting or upgrading your trailer’s electrical system.