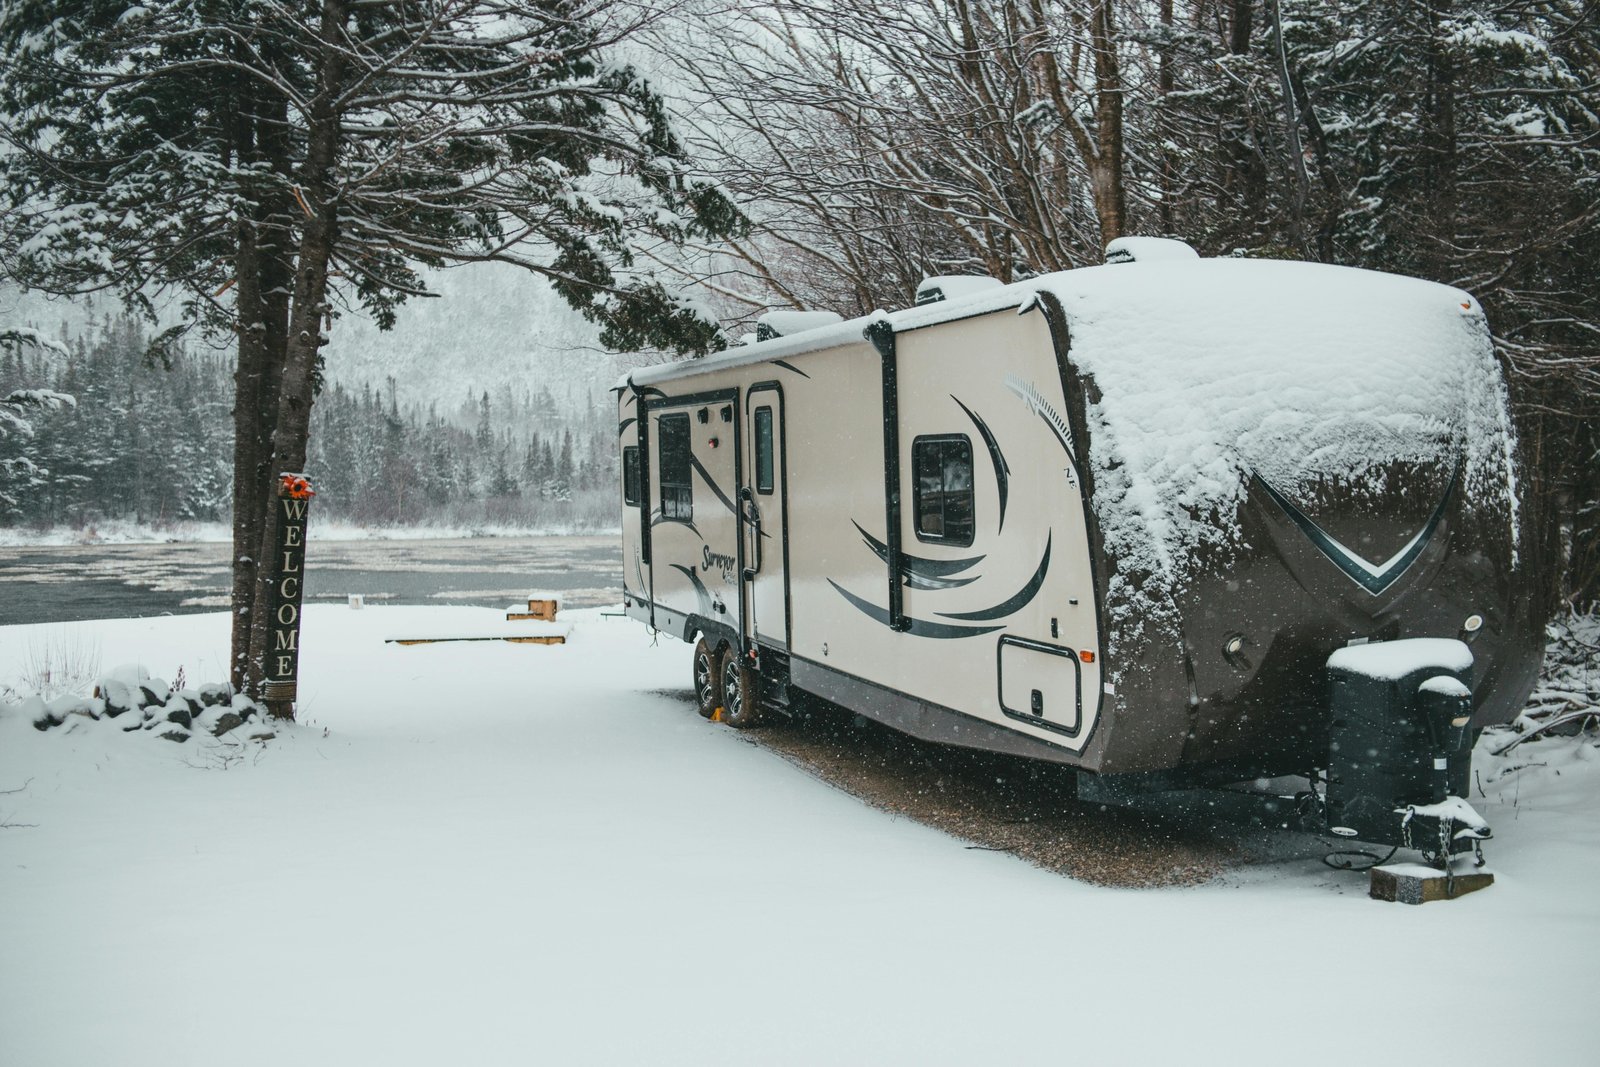
As the cold season approaches, learning how to winterize a travel trailer is an essential task for any owner. Properly preparing your RV for freezing temperatures prevents serious damage, especially to its water system. Consequently, a little effort now can save you from expensive repairs later. This guide provides a clear, step-by-step process to protect your investment.
Why Winterizing Your Travel Trailer is Crucial
The biggest threat during winter is water freezing inside your pipes. When water freezes, it expands with incredible force. This expansion can easily crack pipes, damage fittings, and destroy your water heater or pump. Therefore, winterizing is not just a suggestion; it is necessary maintenance to ensure your trailer is ready for adventures next spring.
Gather Your Supplies: What You’ll Need
Before you begin, it’s helpful to have all your supplies ready. This makes the process much smoother. You will generally need the following items:
- Non-toxic RV antifreeze (2-3 gallons)
- A water heater bypass kit (if not already installed)
- A water pump converter kit or a hand pump
- Basic hand tools (wrenches, screwdrivers)
- Towels or rags for spills
Step-by-Step Guide on How to Winterize a Travel Trailer
Follow these detailed steps for a thorough winterization process. Make sure your trailer is parked on a level surface before you start.
1. Drain the Entire Water System
First, you must remove all the water from the plumbing. Start by draining the freshwater tank completely. Next, empty both the black and gray water holding tanks at an approved dump station. It is also a good idea to clean the black tank with a tank wand.
Afterward, drain the water heater. Turn off the power and gas supply to it. Open the pressure relief valve at the top and remove the drain plug at the bottom. Let all the water drain out. This step is very important.
2. Bypass the Water Heater
You do not want to fill your water heater with antifreeze. For this reason, you must bypass it. If your trailer has a bypass kit, simply turn the valves to the bypass position. If not, you may need to install one. This prevents wasting several gallons of antifreeze.
3. Introduce Antifreeze into the System
Now it is time to add the RV antifreeze. Disconnect the inlet side of your water pump and attach a tube from the pump directly into a jug of antifreeze. Alternatively, use your pump converter kit. Turn the pump on to start circulating the pink fluid through the pipes.
Go to each faucet (kitchen, bathroom, shower) one by one. Turn on the hot and then the cold tap until you see pink antifreeze flowing out. Don’t forget the outdoor shower if you have one. Also, flush the toilet until antifreeze appears in the bowl.
4. Final Plumbing Steps
Once antifreeze has run through all the lines, turn off the water pump. Pour about a cup of antifreeze down each sink drain and the shower drain. This fills the P-traps and prevents any remaining water from freezing. Finally, pour a small amount into the toilet bowl to protect the seal.
Final Checks and Storage Tips
Winterizing is more than just the plumbing. In addition, you should perform these final checks for complete protection.
- Battery: Fully charge your battery, then disconnect it. Store it in a cool, dry place where it won’t freeze.
- Tires: Inflate tires to the recommended pressure. Consider using tire covers to protect them from sun damage.
- Pest Control: Remove all food from the trailer. Clean the interior thoroughly to avoid attracting pests. You can also place mouse traps or deterrents inside.
- Exterior: Wash and wax the exterior to protect the finish. Cover your travel trailer with a breathable cover to shield it from the elements.
By following these steps, you can rest easy knowing your travel trailer is safe and sound during the winter months. Your future self will thank you when camping season returns.


